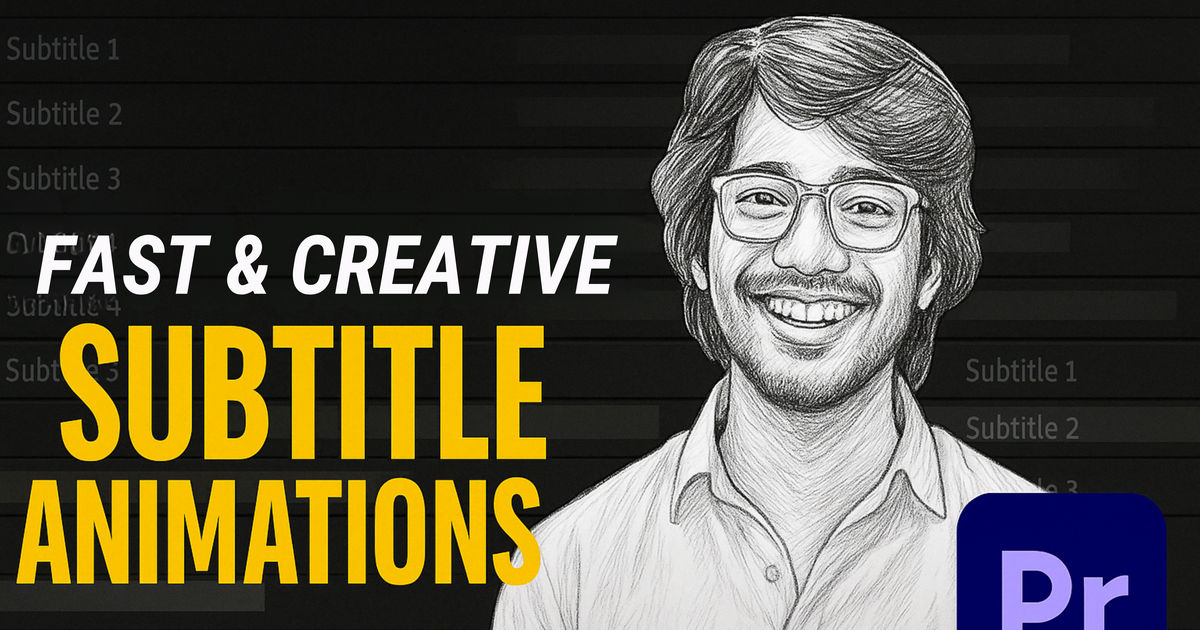
What Does 'Upgrade Caption to Graphic' Do in Premiere Pro? (And When to Use It)
If you've been working with captions in Premiere Pro, you might have hit a wall when trying to add flair to your text. Perhaps you wanted to animate a specific word, apply a unique effect, or simply use a custom font that wasn't available for standard captions. This common roadblock often leads users to search for how to upgrade caption to graphic Premiere Pro, and for good reason: it's the key to unlocking advanced text customization.
This guide will explain exactly what this feature does, why it's necessary, and when you should integrate it into your video editing workflow.
The Problem: Why You Can't Animate Standard Captions
You've meticulously transcribed your audio, synced your captions, and now you want to make them pop. But when you try to drag an effect onto a caption clip or keyframe its position, nothing happens. This can be incredibly frustrating and makes it seem like you can't add effects to captions Premiere Pro. The reason lies in the fundamental design of Premiere Pro's caption track.
Standard captions (often created via transcription or imported as SRT files) are primarily designed for accessibility and readability. They function more like a separate overlay track, offering limited styling options. While you can change basic attributes like font, size, and color within the Text panel, these captions are not treated as traditional video elements. This means advanced animations, transitions, or video effects simply aren't compatible with them. As many users discover, it can be difficult to make changes or add animations when your text is currently in a standard caption format, hindering creative expression.
The Solution: 'Upgrade Caption to Graphic'
Premiere Pro offers a powerful solution to this limitation: the "Upgrade Caption to Graphic" feature. This function transforms each segment of your standard caption track into an individual, editable graphic clip on your timeline. Instead of a single, restricted caption track, you end up with a series of independent graphic layers, each containing a piece of your original caption text.
This conversion is a game-changer because it takes your static captions and turns them into dynamic assets. As mentioned in our expert discussions, this feature, found under `Graphics & Titles`, will convert each individual caption segment into a separate graphic. This means that if your original caption file had 10 distinct caption entries, after upgrading, you would have 10 separate graphic clips on your timeline, each corresponding to one of those entries.
What's the Difference? Captions vs. Graphics
Understanding the core distinctions between standard captions and graphics is essential for knowing when to use the upgrade feature. Here's a quick comparison of Premiere Pro captions vs graphics:
- Standard Captions:
- Purpose: Primarily for accessibility, transcription, and basic subtitles.
- Styling: Limited to basic font, size, color, background, and alignment options within the Text panel.
- Effects & Transitions: Generally not supported. You cannot apply video effects or transitions directly.
- Keyframing: No keyframe control for position, scale, rotation, or opacity.
- Timeline Representation: Appears as a single, continuous track with segments.
- Graphic Clips (after upgrading):
- Purpose: Fully customizable text elements for creative titling, animated captions, and branded subtitles.
- Styling: Full control over fonts, styles, fills, strokes, shadows, and more via the Essential Graphics panel.
- Effects & Transitions: Fully supports all video effects and transitions.
- Keyframing: Complete keyframe control over position, scale, rotation, opacity, and other transform properties. This allows you to animate captions Premiere Pro with precision.
- Timeline Representation: Each caption segment becomes an independent graphic clip on a video track.
The key advantage of graphics is their flexibility. With graphics, you gain the ability to rotate, scale, apply various effects, and even add transitions, which isn't possible with standard captions.
How to Use 'Upgrade Caption to Graphic': A 3-Step Workflow
Converting your captions to graphics is a straightforward process that takes just a few clicks. Here’s how to do it:
Step 1: Select Your Caption Clips on the Timeline
Navigate to your timeline in Premiere Pro. Make sure your caption track is visible. Select all the caption segments you wish to convert. You can do this by clicking and dragging a selection box over them, or by selecting one and then using `Ctrl+A` (Windows) or `Cmd+A` (Mac) if they are the only clips on that track, or by holding `Shift` and clicking multiple segments.
Step 2: Go to Graphics & Titles > Upgrade Caption to Graphic
With your caption clips selected, go to the top menu bar. Click on `Graphics & Titles`, then from the dropdown menu, select `Upgrade Caption to Graphic`. This is the exact path mentioned by experts for converting your captions.
Premiere Pro will process the selected captions. Depending on the number of captions, this might take a moment.
Step 3: Observe the New Graphic Clips on Your Timeline
Once the process is complete, you'll notice a significant change on your timeline. Your original caption track will disappear (or the caption clips will be replaced), and in its place, you'll see new graphic clips appear on a regular video track (e.g., V2, V3, etc.). Each of these new clips will correspond to a single caption segment from your original track, now ready for full customization and animation. For more advanced animation techniques, consider exploring resources on smooth animation in After Effects, as many principles apply across Adobe tools.
When Should You Use This Feature?
Knowing when to convert subtitle to text Premiere Pro (or rather, caption to graphic) is crucial for an efficient workflow. Here are the primary scenarios where this feature becomes invaluable:
- For Social Media Captions with Animations: If you're creating content for platforms like Instagram Reels, YouTube Shorts, or TikTok, animated captions are highly engaging. Upgrading to graphics allows you to add dynamic intros, pop-ins, highlight individual words, or create a karaoke-style effect.
- For Custom-Branded Subtitles: When your brand requires specific fonts, colors, or graphical elements that go beyond basic caption styling, converting to graphics gives you the freedom to implement your brand guidelines precisely.
- To Apply Video Effects or Transitions to Text: Do you want your captions to fade in with a specific dissolve, have a glitch effect, or reflect your video's aesthetic with a particular color grade? Only graphic clips support these video effects and transitions.
- When You Need Precise Position and Scale Control: For complex layouts or responsive designs where you need exact control over where your text appears and how it scales, graphic clips offer the necessary keyframing capabilities. If you're adapting horizontal video for vertical platforms, understanding how to manage text elements becomes even more important. You can find useful insights on converting horizontal video to vertical for Reels, which often involves adjusting text positioning.
By leveraging "Upgrade Caption to Graphic," you transform your captions from a static accessibility feature into a dynamic storytelling tool. This allows you to create more impactful and visually appealing videos. To truly master the art of creating engaging text for your videos, including designing impactful captions and subtitles, explore the comprehensive lessons available in Juno School's Designing Impactful Captions and Subtitles Using Premiere Pro course.
Ready to level up your career?
Join 5 lakh+ learners on the Juno app. Certificate courses in Hindi and English.